Minimalism for artists and makers: A step-by-step guide to decluttering your creative workspace
Being an artist often means collecting things. Inspirational trinkets and ephemera, and, of course, art supplies. Every so often, though, I start to feel overwhelmed by the amount of stuff cluttering my workspace, which makes me feel uninspired.
So, a few years ago I started being slightly more intentional about the things I brought into my home and studio.
"Be regular and orderly in your life, so that you may be violent and original in your work." —Gustave Flaubert
I actually don't consider myself a minimalist. I love stuff! Especially kitschy, tacky stuff. It inspires me. But I am intentional about the objects I bring into my home, and that's what this guide aims to teach you.

My creative workspace 2016
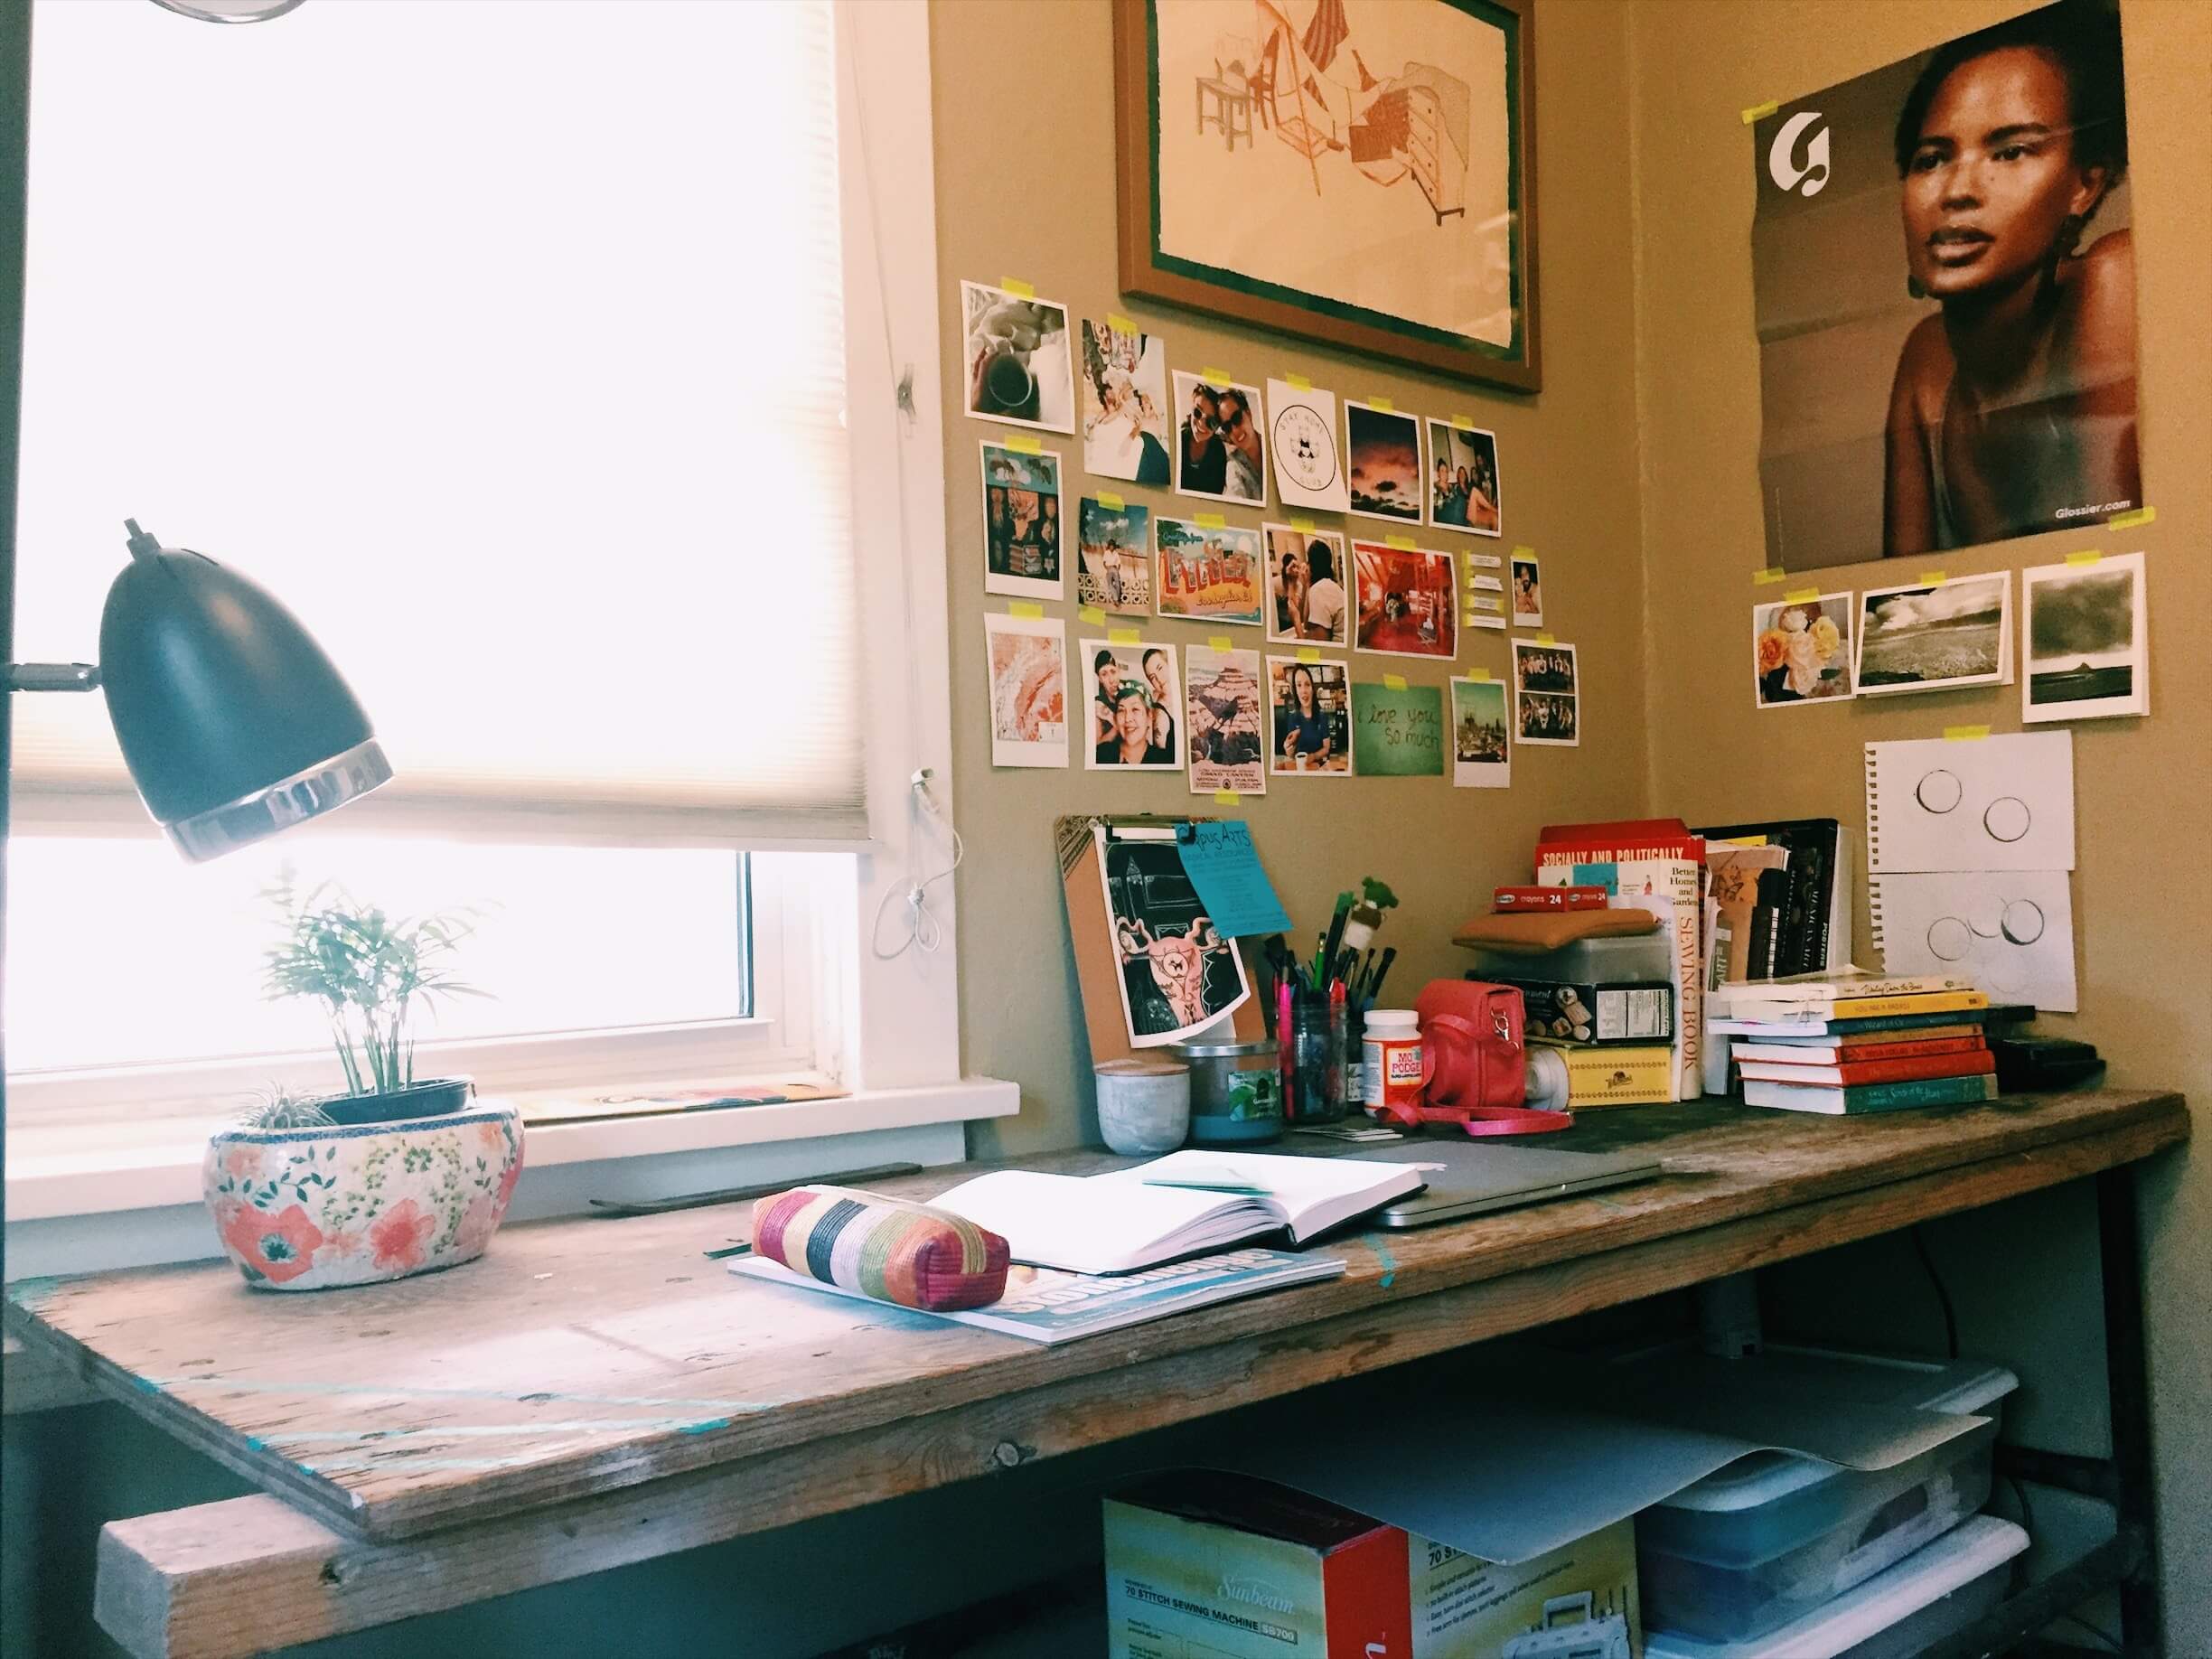
My creative workspace 2016
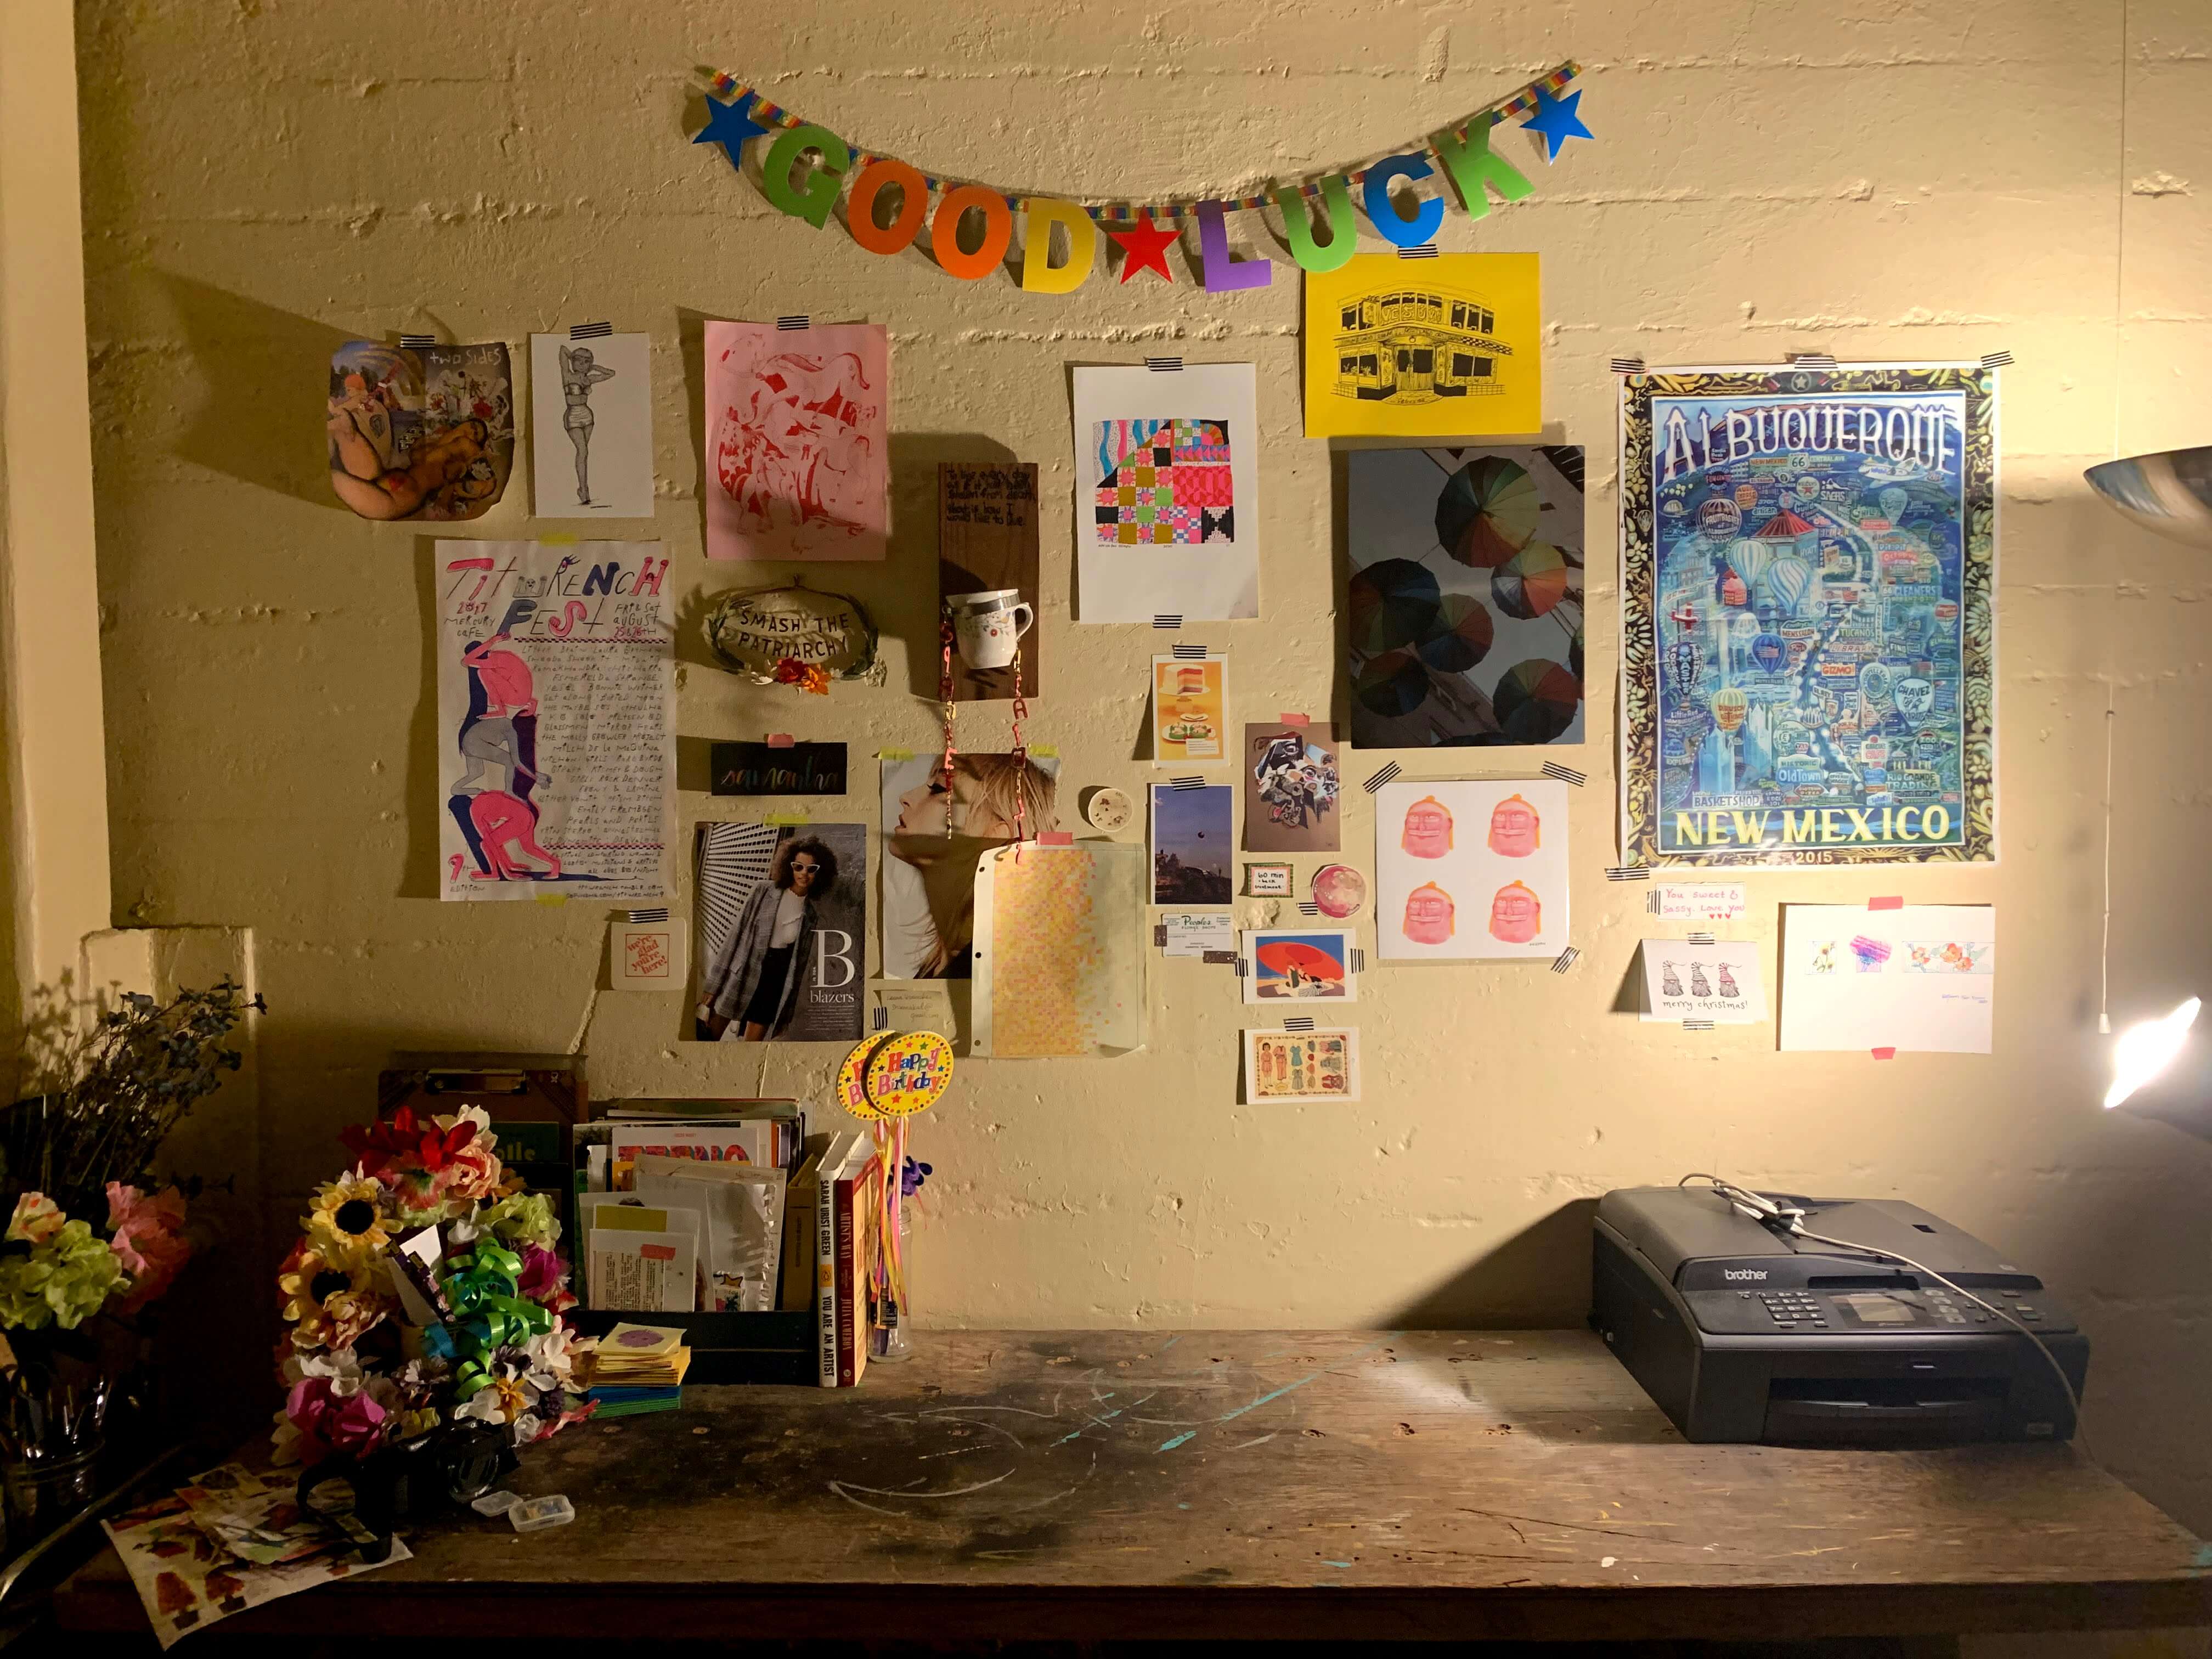
My creative workspace October 2020
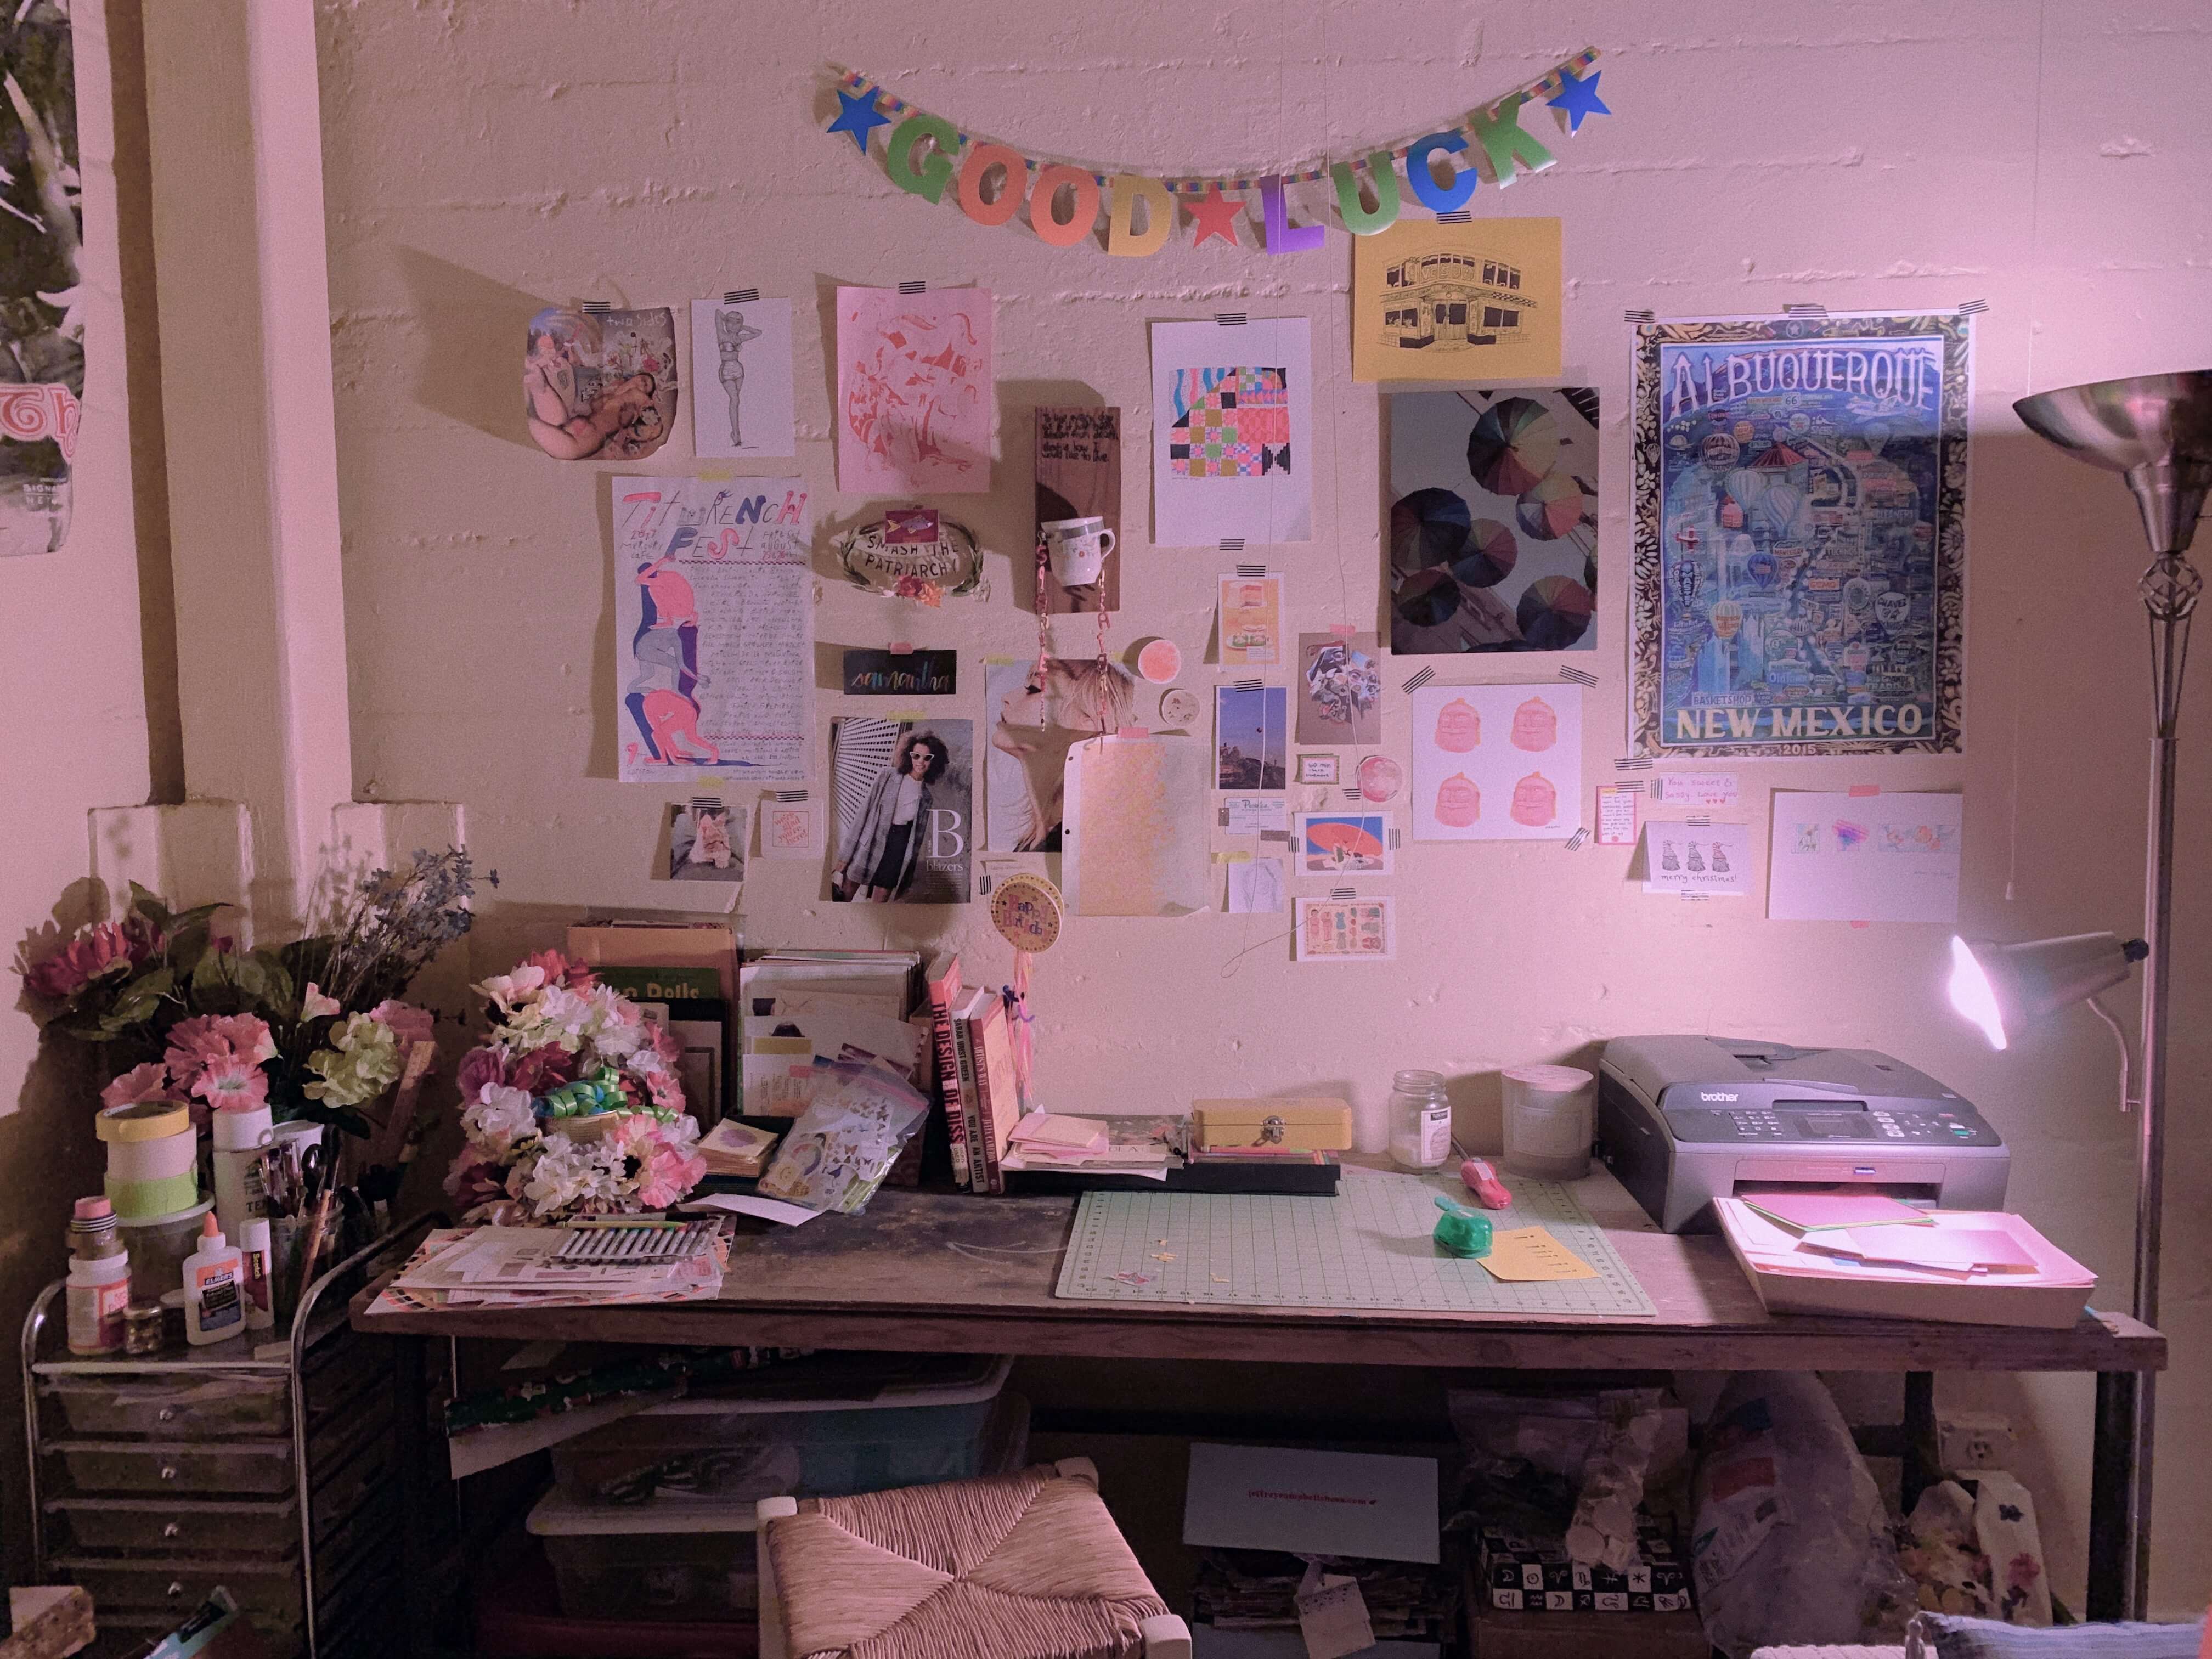
My creative workspace January 2021
How to use this guide #
Read through the guide to get a complete understanding of the process. You might not be able to complete every step in one day, and that's fine! I personally like to get inspired and create a moodboard for my new, updated space at least a few days before I start the decluttering and minimizing process.
When you're in the middle of decluttering, take a lot of breaks. Drink water. Don't forget to eat. And if you start to feel overwhelmed, take a step back, a few deep breaths, and come back to it later with a clear head.
Materials:
- Paper and pen for journaling
- Pinterest, Are.na, Canva, Adobe XD, Figma, or any other app for making an inspirational moodboard
- Containers such as small to medium-sized boxes, paper organizers, portfolio carriers, cups or glasses for storing pens and pencils, and large Tupperware containers (all of this is totally optional; don't buy anything new until you're certain you need it; be resourceful and try to repurpose something you already own)
Step 1: Imagine your ideal creative space #
It's hard to commit to decluttering without first imagining how our workspace will look and feel once finished. Let yourself dream a little here and get excited about the process of minimizing your belongings.
Write down your answers to the following questions:
- How do you currently feel when you walk into your workspace? What do you like about it? Dislike?
- How do you want to feel when you walk into your workspace?
- What is the one tool or material that you want to start reaching for more frequently?
- What does success look like for you for this decluttering project? Are you trying to get rid of 90% of your supplies, or maybe just 30%?
Personally, I still have a lot of stuff in my workspace, but I keep it organized because that's what works for me. Honestly, I don't even consider myself a minimalist at all! But I am intentional about what I keep in my space, and I think that's an important differentiation to make.
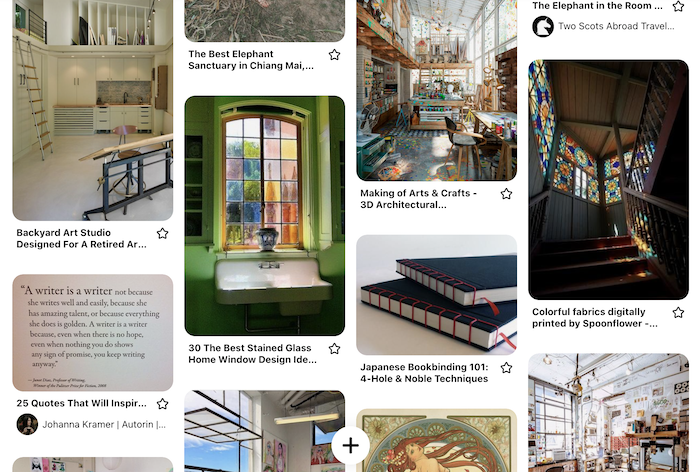
Start collecting inspirational images in the design app of your choice. Pinterest, Are.na, Canva, Adobe XD, or Figma are all good options.
Step 2: How to declutter your belongings as an artist or creator #
To begin your decluttering process, I recommend using a slightly modified version of the Marie Kondo method. Kondo suggests you start by removing everything out of your space, putting it all into a big pile, and sorting through each item one-by-one, holding each item and considering whether or not it sparks joy.
In addition to considering whether or not an item sparks joy, also think about the following:
- When was the last time this item was used? If it has been over a year, consider removing this item from your space. We often keep items from old hobbies that we no longer practice. Give yourself permission to let go of the old and embrace the new.
- Do I have a duplicate of this item? If so, keep the one that you enjoy using more.
I found myself owning two watercolor palettes, which is entirely unnecessary as I don't use watercolors enough to justify having more than one set.
After you've decided what to keep, make three separate piles for the rest:
- Items to donate
- Items to sell
- Items to throw away (Try your best to avoid filling our landfills—donate as much as possible!)
Donating your unwanted items is one of the best ways to give back to the community. Do some research to find a local DIY or art space who might be interested in some of your gently used art supplies. Schedule time to actually drop it off, and feel the weight lifted!
Selling items takes time and energy, but it can be a rewarding endeavor. Keep reading for some of my favorite places to sell finished pieces.
Something I had a hard time parting with: A cheap sewing machine that always got jammed and caused more frustration than creative satisfaction. Several years later, I haven't missed it! One day I'll get a replacement that actually works.
Frequently Asked Questions for artists and creators who are minimizing their art supplies and materials #
What do I do about sketchbooks, reference drawings, and other "artifacts of the past"? #
In the end, you have to do what feels right for you. You may feel like purging 95% of your belongings is exactly what you need in this moment, but you might feel like these deeply personal artifacts are still important to your practice. If this is the case, don't get rid of them! Instead, develop an archiving system to manage them and store them away. Invest in a few portfolio carriers, airtight Tupperware containers, and label them by type or date or both.
Oftentimes, the best way to handle these items is to find a way to keep them safe, but out of sight for now.
I keep all my old journals because I like to read through them years later. It helps me appreciate my growth and progress.
What do I do with my finished pieces that are just sitting around in my studio? #
Sell them! Or, give them away to friends.
The first piece of art I ever sold was for $1 at a garage sale. True story. And you know what, it felt great! Someone liked my art enough to take it into their home, and that was enough for me.
Places to sell or give away your art:
- OfferUp (previously LetGo)
- Nextdoor
- Craigslist
- Facebook Marketplace
- Social media (Instagram, Twitter, wherever your friends hang out!)
I recommend these avenues for selling your art because they're localized, which means you don't have to worry about shipping. But, if your pieces are small enough, shipping might not be a problem, and you may have more success opening up an online storefront or selling on Ebay.
Spend some time taking nice, well-lit photos of your pieces, and upload them to the platform of your choice. It also helps to name each piece and add some detail about the methods and materials used.
Step 3: How to make your minimalist artist studio your own #
Now that you've taken everything apart, it's time to put it back together.
Organize your supplies #
- Group similar items and find a suitable storage space for them. For example, store a set of paintbrushes in a mason jar or a shoebox.
- If you'd like to use certain materials or mediums more often, make them readily available for easy access. Don't store away your sewing machine in the hallway closet if you're trying to do more sewing projects!
- Store away anything that you don't need to access on a regular basis. Make space for new energy!
Decorate! #
- Using your reflection questions and inspirational moodboard from Step #1, start adding inspirational imagery, color, and visual interest to your space. I like to stack art books on top of each other to add height to my workspace.
A challenge: Don't buy anything new to decorate your space! Use what you have, get creative, and make it work. Personally, I use washi tape to hang up sweet letters and cards from friends, collages I've made, and posters that bring me joy. No expensive framing or hammer required.
Step 4: Tips for maintaining your minimalist artist studio #
- Every 6 months, make a plan to go through a section of your workspace and declutter items that you haven't used in the past year. Sell, donate, or trash the stuff that you no longer need. Schedule this time in your calendar right now if that's your thing!
- Use the one-in-one out method to limit the number of items you allow in your space. Whenever you purchase or receive a new item, an older one has to go.
- Practice mindfulness when bringing new objects into your space. Do you actually need to buy more sewing fabric? What if, instead, you took a photo of it and added it to your "inspiration" board before making the purchase?
- Practice gratitude for everything and keep your own mindfulness practice. Clean your space frequently. Light a candle or incense. Journal. If you remain centered in an abundance mindset, you'll always know that you have enough.
Thank you for reading! I hope this guide helps you create a creative space that makes you feel spacious and centered.

Subscribe to Soft Practice
Soft Practice is where I think through the questions I'm living with: How to build a creative practice within serious constraints? Is it possible to decenter work without sacrificing craft? What does it mean to be rooted in a place? What happens when you use AI as a creative partner instead of just a productivity tool? I write about living slowly, parenting, engineering leadership, and making art.